The Chesterfield sofa design dates back hundreds of years with its iconic rolled arms and deep buttoned upholstery design. From humble beginnings right up until the present day, it has long been a design classic synonymous with luxury.
Many historical reports claim the real origins of the Chesterfield sofa date back to the 1800s and the Earl of Chesterfield, Lord Phillip Stanhope. It is doubted that the Earl actually invented the Chesterfield himself, albeit it originates from around the time that he lived.
In the earlier years it was only obtainable for the upper classes and would grace many Victorian homes, exclusive establishments and country mansions alike.
During these times the original Chesterfield was manufactured without the modern-day materials that are now available and would have been hand stuffed with horsehair and finished by hand meticulously with hammer and tacks.
The Modern-Day Chesterfield
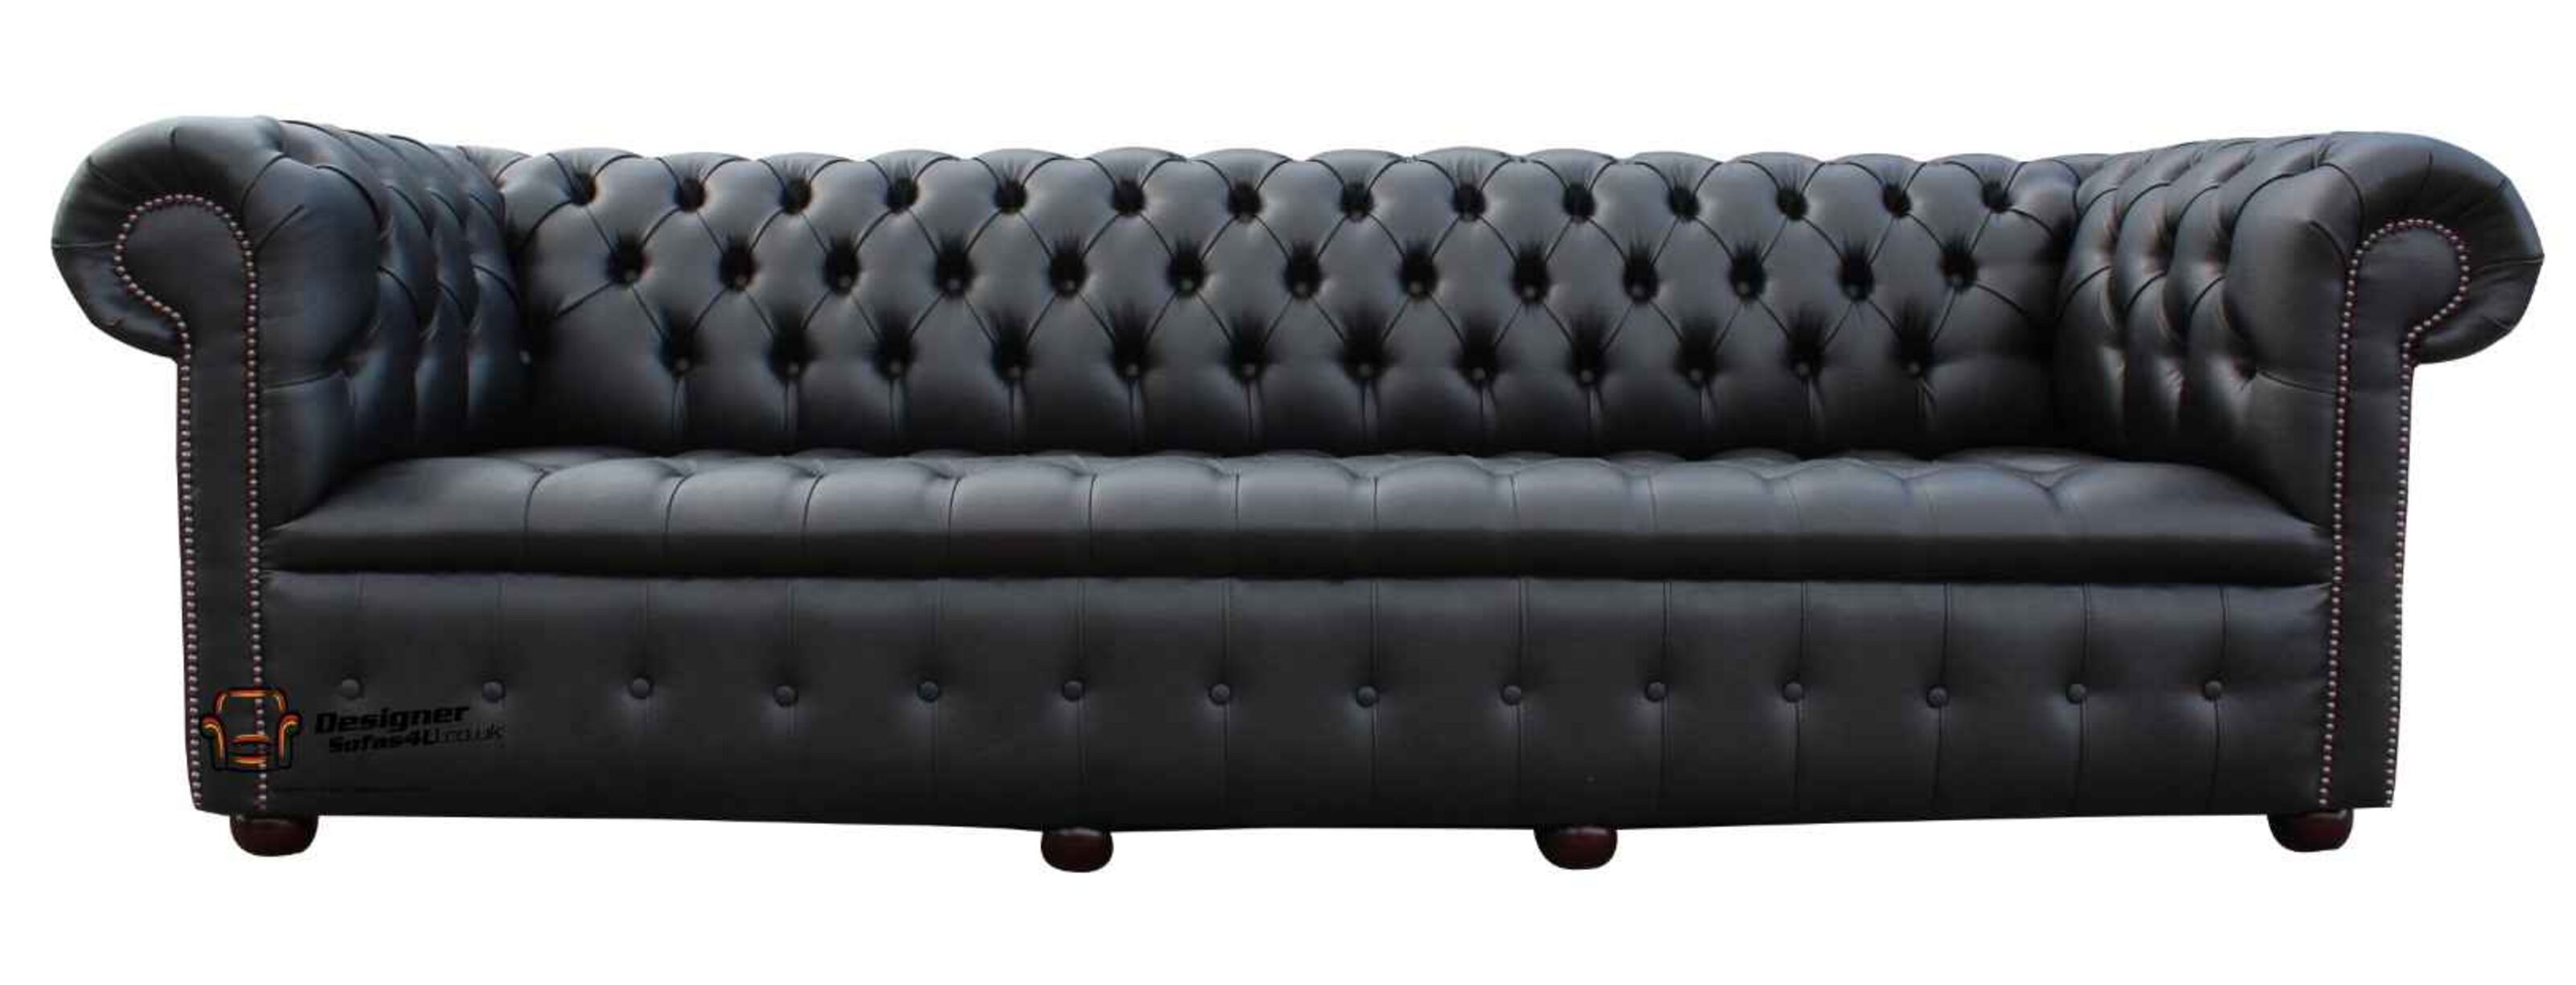
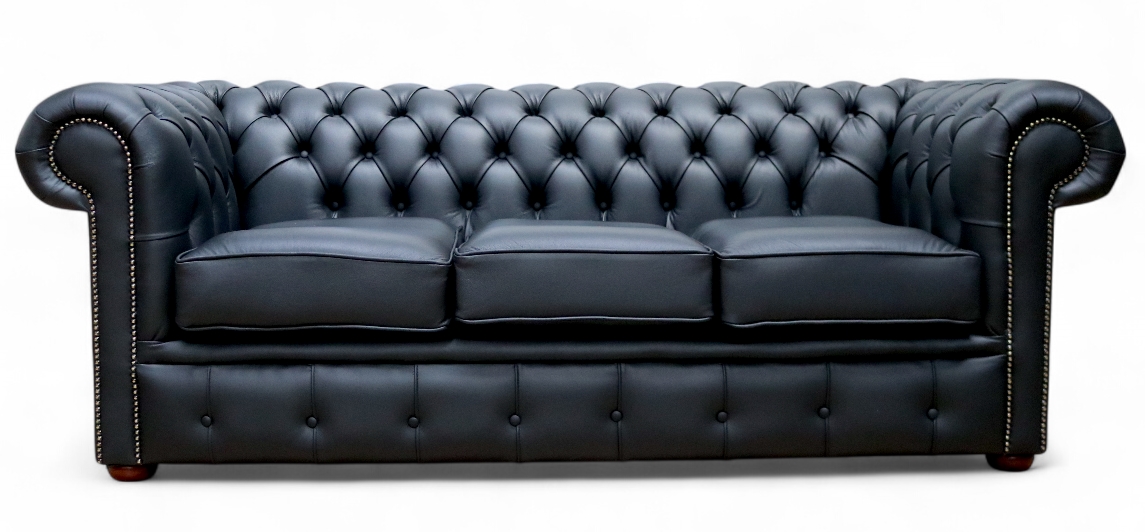
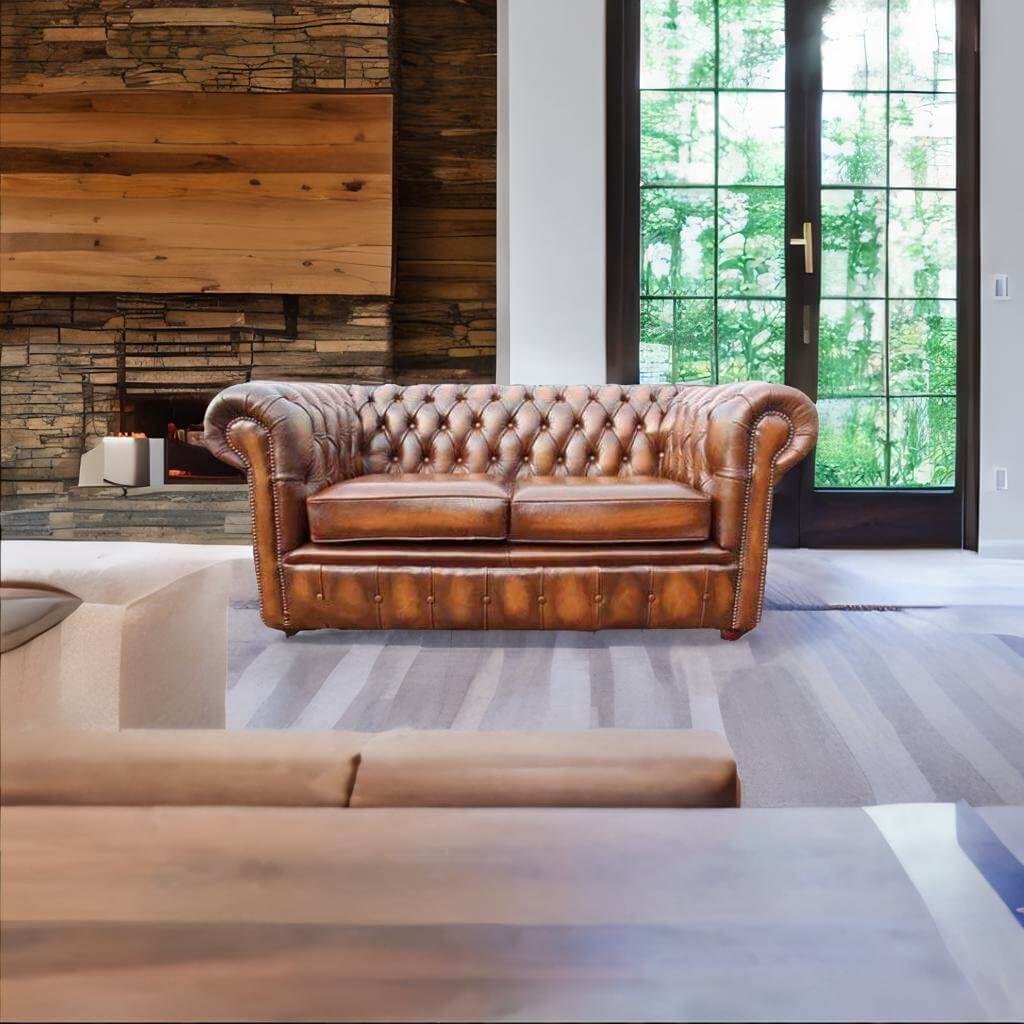
Today the Chesterfield is generally used to describe a sofa where the arms and backs are finished at a similar height and the main body of the sofas are deep buttoned. The Chesterfield has certainly evolved over the years. It’s design, materials and colour options have changed and now Chesterfields are manufactured not only in the traditional antique leathers but can be seen in every colour under the rainbow, including metallic leathers and fine upholstery materials.
Chesterfield Sofas & Traditional Manufacturing
Here at Chesterfields Direct it is our passion to keep alive the traditional manufacturing methods used to create our beautiful luxurious Chesterfield sofas, from our classic Cambridge Chesterfield design to the more rounded slightly higher back Chesterfield design found in our Windsor range. Our entire furniture range can be viewed on our website.
What is a Chesterfield Sofa? Chesterfield Sofa Types, Features, Prices, & Where to Buy.
This blog post is all about Chesterfield Sofas. We explain Chesterfield sofa origins, different types, special features, prices, and where can you buy it.
Chesterfield sofa origins.
Chesterfield sofas have British roots and have been around for centuries. It’s one of those things that never get old! Until today, Chesterfield Sofas continue to be trendy in modern and traditional home interiors.
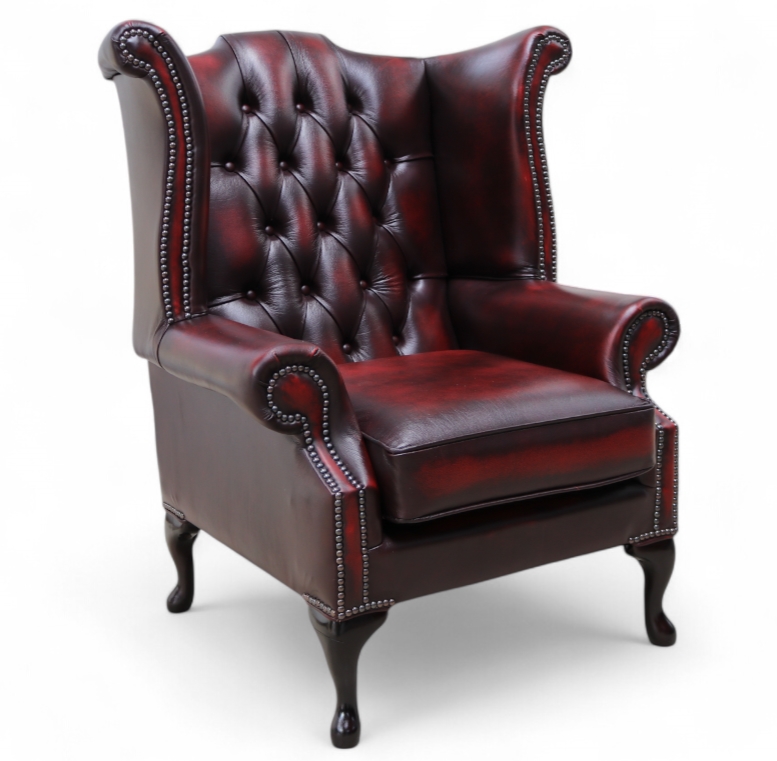
The Chesterfield sofa has several charming distinct features, including its high scrolled arms, tufted upholstery, and classic Chesterfield-style turned wooden feet. These features have been around for almost 300 years. This sofa design was very common in aristocratic homes and English gentlemen’s clubs. However, it is becoming more and more common in modern apartments, night clubs, and even offices. Everyone loves Chesterfield sofas.